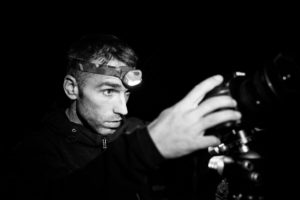
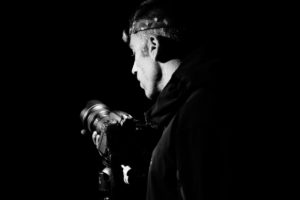
Astrophotography has seen a boom in the recent years with digital technology. The capabilities of today’s cameras are incredible and capturing the night sky has never been easier. Here in Jackson Hole we are fortunate to have a combination of very little light pollution and high altitude that creates a perfect place to capture brilliant photos of the cosmos. Here are a few tips to get you started. First of all you need the proper equipment. A tripod, camera, and a fast/wide lens. A shutter release and headlamp can be useful as well. Don’t get too concerned about having the absolute latest camera as long as its relatively new. Of course the newer the better as each generation of digital sensors outperform the previous. Lens choice is also hugely important when it comes to image quality. I typically use my Nikon 14-24mm f2.8G as it is very fast and very sharp, a great lens for this. You will find that wider is usually better for night photography. 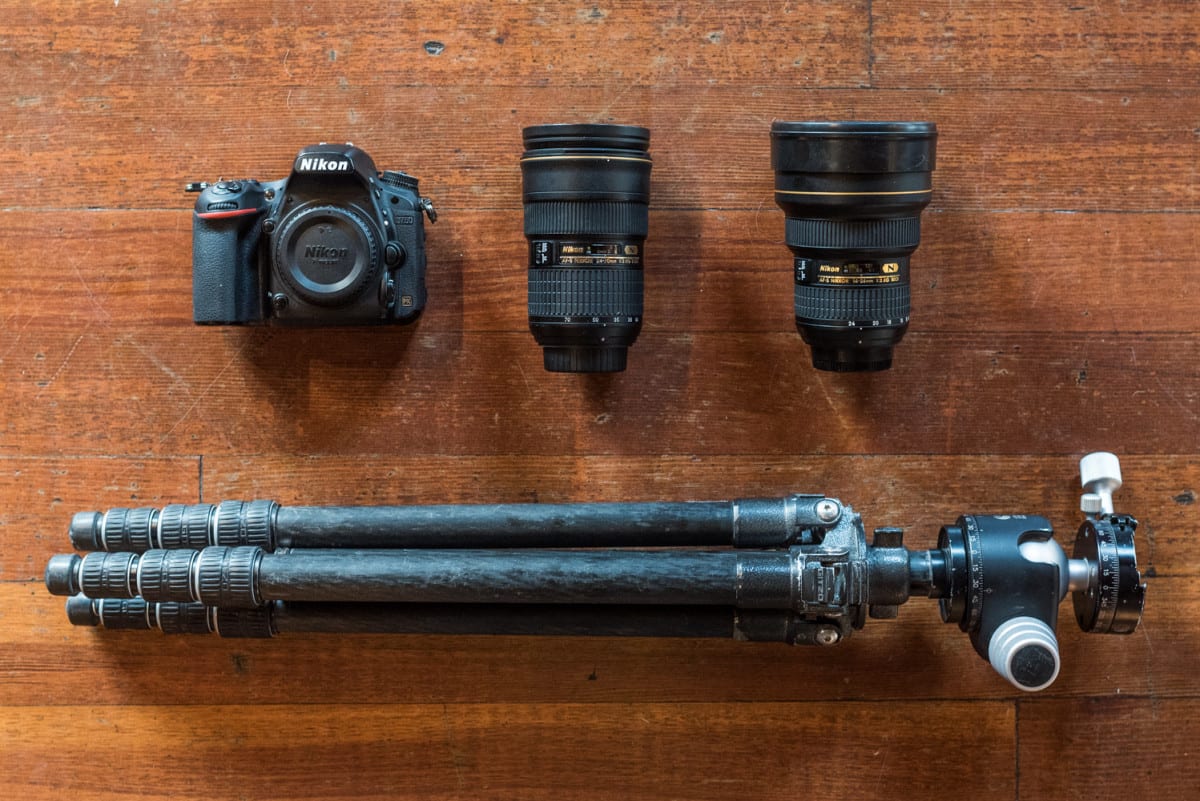
Nikon D750 Nikon 24-70mm f2.8G Nikon 14-24mm f2.8G Gitzo Basalt Tripod Really Right Stuff Panning Ballhead Really Right Stuff L Bracket for Nikon D750
For getting a correct exposure there are a few rules of thumb here that will be helpful. In these photos you will notice that there are no ‘star trails’. Star trails occur when you have the shutter open long enough to record the rotation of the earth. Because the earth is moving relative to the stars the result is that the stars will create a ‘trail’. For my images I prefer to capture the brilliance of the night sky without the trail affect so this is where I have to be very careful with how I select my lens and shutter speed. (f-stop and ISO settings also come into play here) For shutter speed I use the ‘500 Rule’. 500 Divided By the Focal Length of Your Lens = The Longest Exposure (in Seconds) Before Stars Start to “Trail” So let’s say you’re using a 14mm lens on a full frame camera. 500 / 14 = 36 seconds. Using a 14mm lens I can shoot a 36 second exposure without the stars ‘trailing’. You then have to choose the proper f-stop and ISO settings to determine the optimal exposure. Full disclosure – I found out about the 500 rule by searching the interweb. There are tons of sites out there with far more technical info if you really want to geek out. For example I found this post with the following chart to help simplify your lens/shutter speed combo.  So to provide an example of this at work:
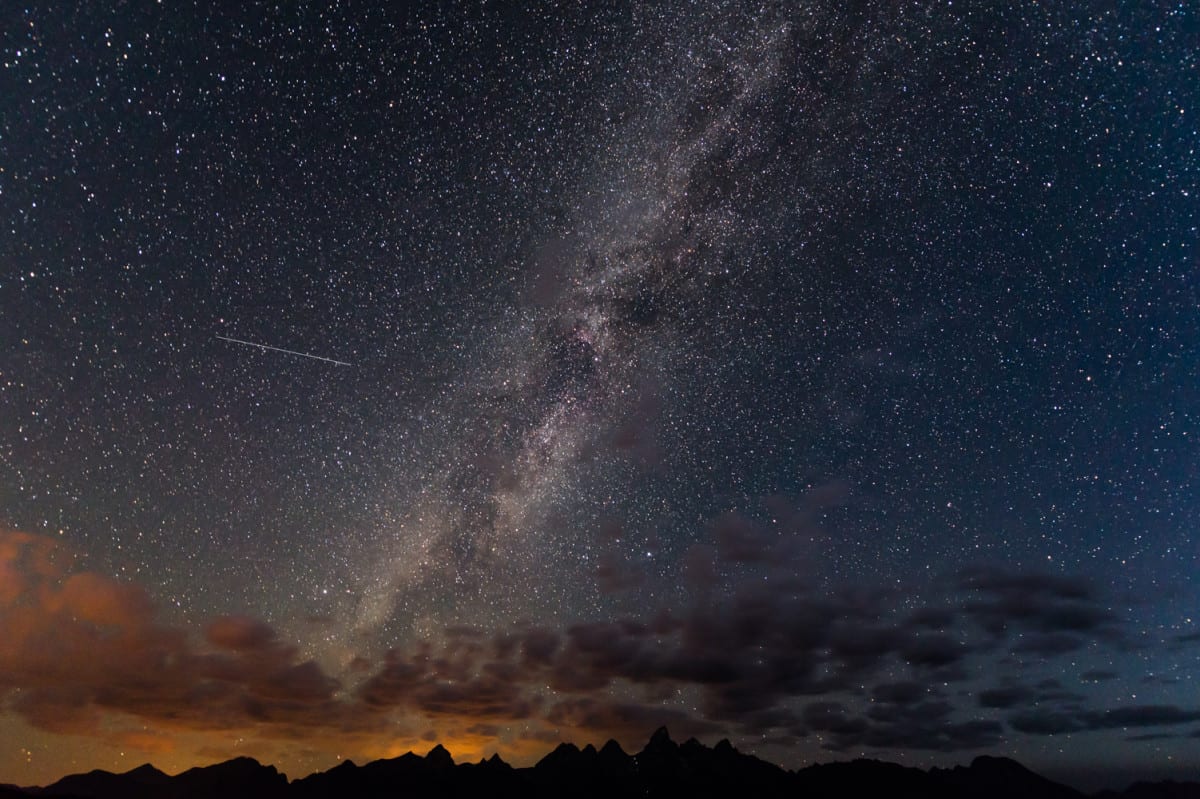
As you can see the stars appear brilliantly with no trailing. I was also lucky to capture a meteor streaking across the frame.
Framing your shot can be a little tricky when it is dark out. You will have to experiment with your camera/tripod position in order to frame your composition. Auto focus will also be useless, so you will need to turn your camera or lens to manual focus and set the focus ring to infinity (this is where the headlamp can be useful to see your focal markings on the lens barrel).
Start by making exposures and using the preview on the back of the camera to determine if your exposure is correct and you like the composition. Adjust until you get the results you like. When you have a composition you like and it’s time to take the shot, a shutter release cable can be handy in order to trigger the shutter without shaking the camera. Newer cameras like the Nikon D750 can be triggered via wifi and a smartphone app. To capture the Milky Way best you’ll want to wait for the moon to be in the new moon phase. There will be no light pollution from the moon and the night sky will be at it’s most brilliant. Photographing with the moon out can also be a fun time to shoot as the moon provides ambient light which can highlight the landscape. The starry sky will not be as brilliant but on the proper night it offers a really cool balance. Here is an example.
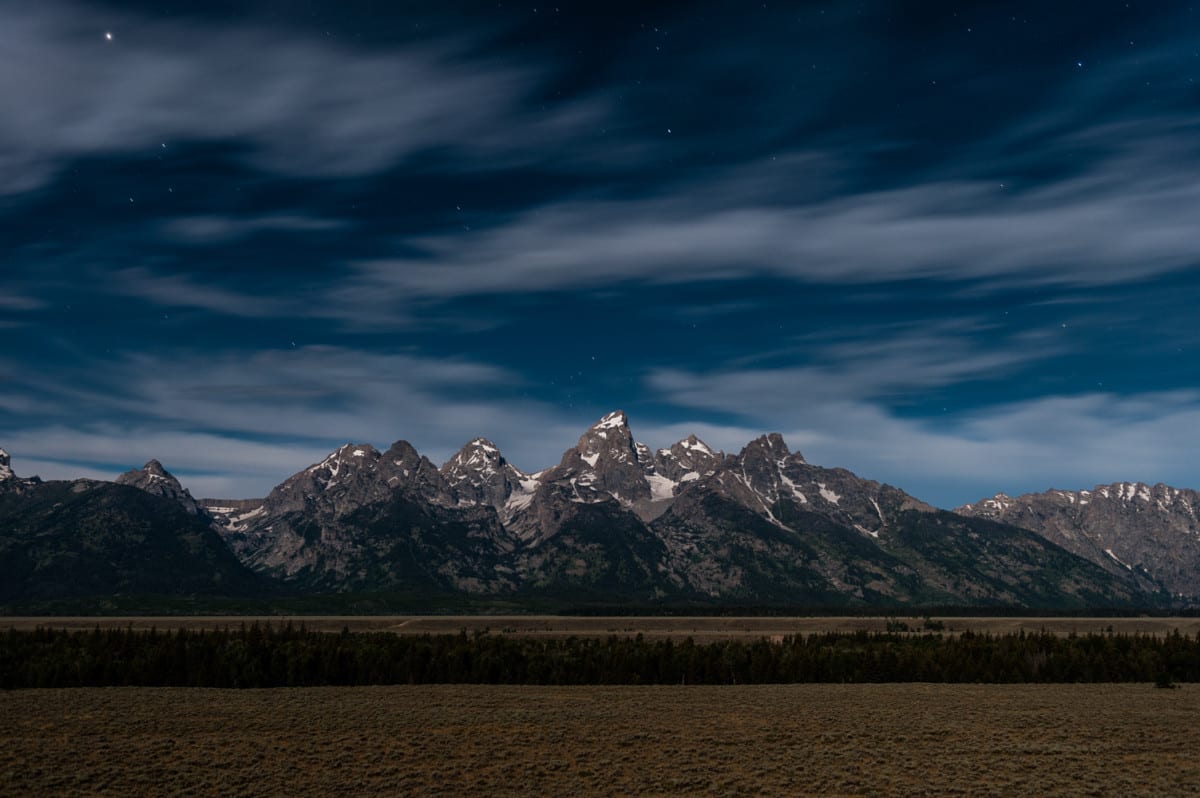
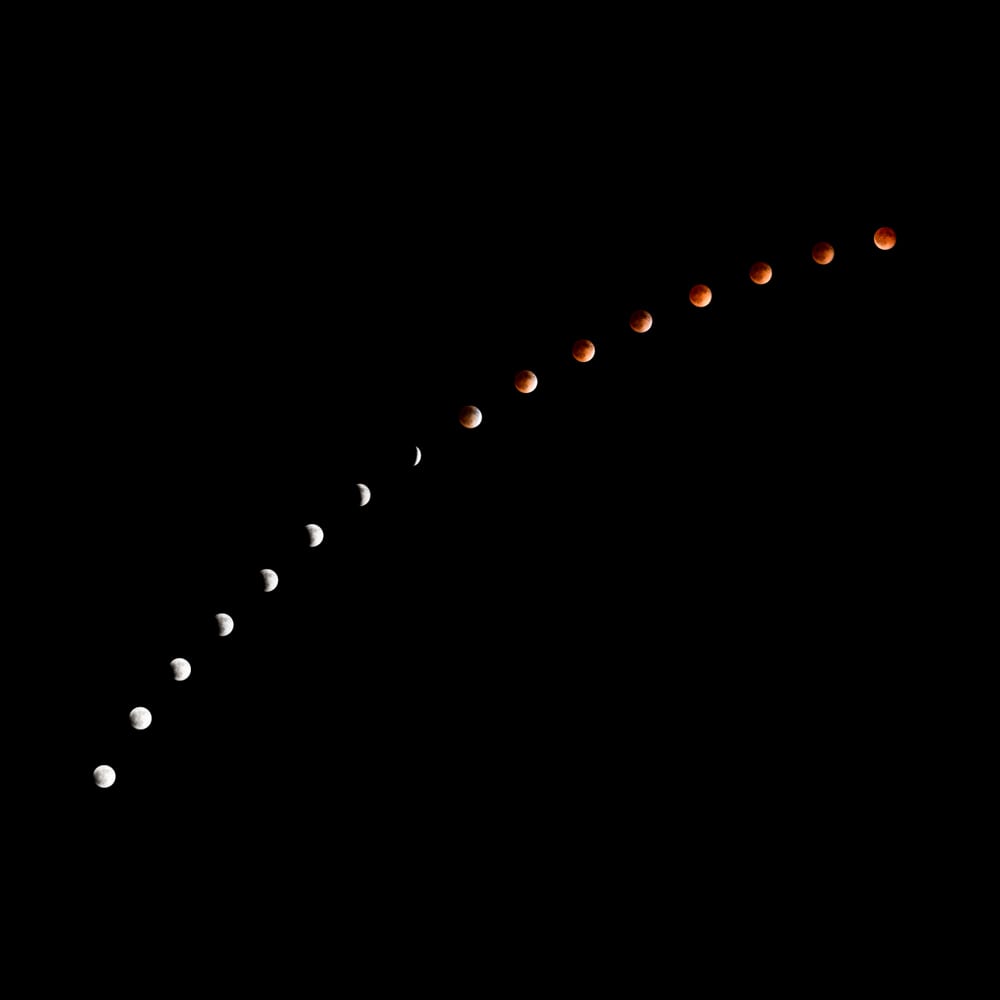
For another take on night photography you can also do fun things with moon phases. Last year during the Blood Moon event I made this image. The Blood Moon is a total lunar eclipse as the Earth passes between the Sun and the Moon casting a red hue on the moon.
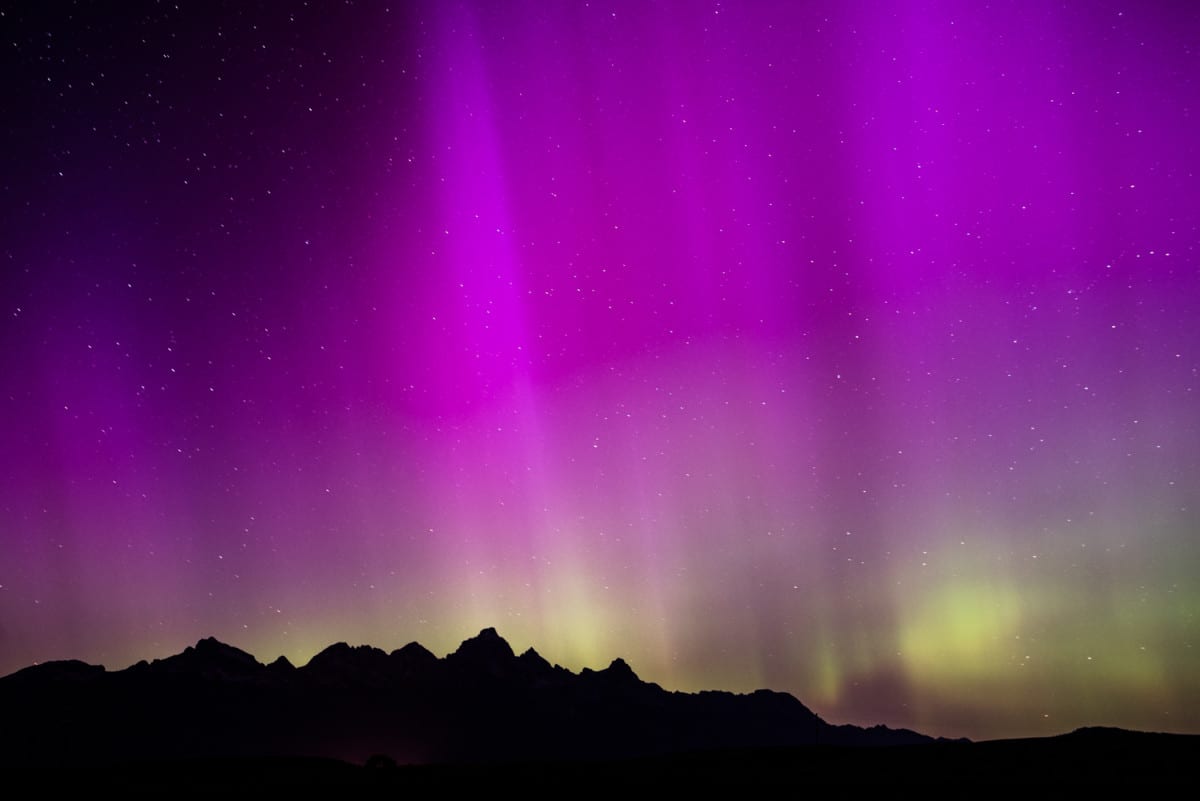
And finally there is the Holy Grail of night photography: The Northern Lights. Far more common in the higher latitudes, it is pretty rare to see the aurora this far south. But in June of 2015 we were treated to a showing here in Jackson Hole. I was fortunate enough to be in the right place at the right time. It only happened for a brief few minutes and I had just setup my camera as the light began dancing across the northern sky. To capture an image like this basically involves a lot of luck, but if you ever have the chance you want to be ready! It helps that I know how to setup my camera properly but there is no way to predict if or when you will see the aurora. When a solar flare happens and creates the proper conditions the geophysical institute in Alaska can offer a prediction if the aurora will appear but even then it is not guaranteed. And if the moon is in a brighter phase it will diminish the affects. I also broke the 500 rule here a bit. With a 50mm focal length I would have been better to have a 10 sec exposure. You can see the stars just starting to trail a bit but it doesn’t bother me here. Remember all this is subjective anyway so learn about your camera and what settings create which results and then you can choose how you want your images to be.
You can spend all day reading about technique on the web but to really learn how to create these images you just need to get out and experiment. Most of all, getting out there and shooting at night helps you figure out which effects you like best. Personally, however the photographs turn out, I love being up in the national park on these cool clear nights. Its a great way to experience Grand Teton National Park. Go out and give it a whirl!
All images © Taylor Glenn
